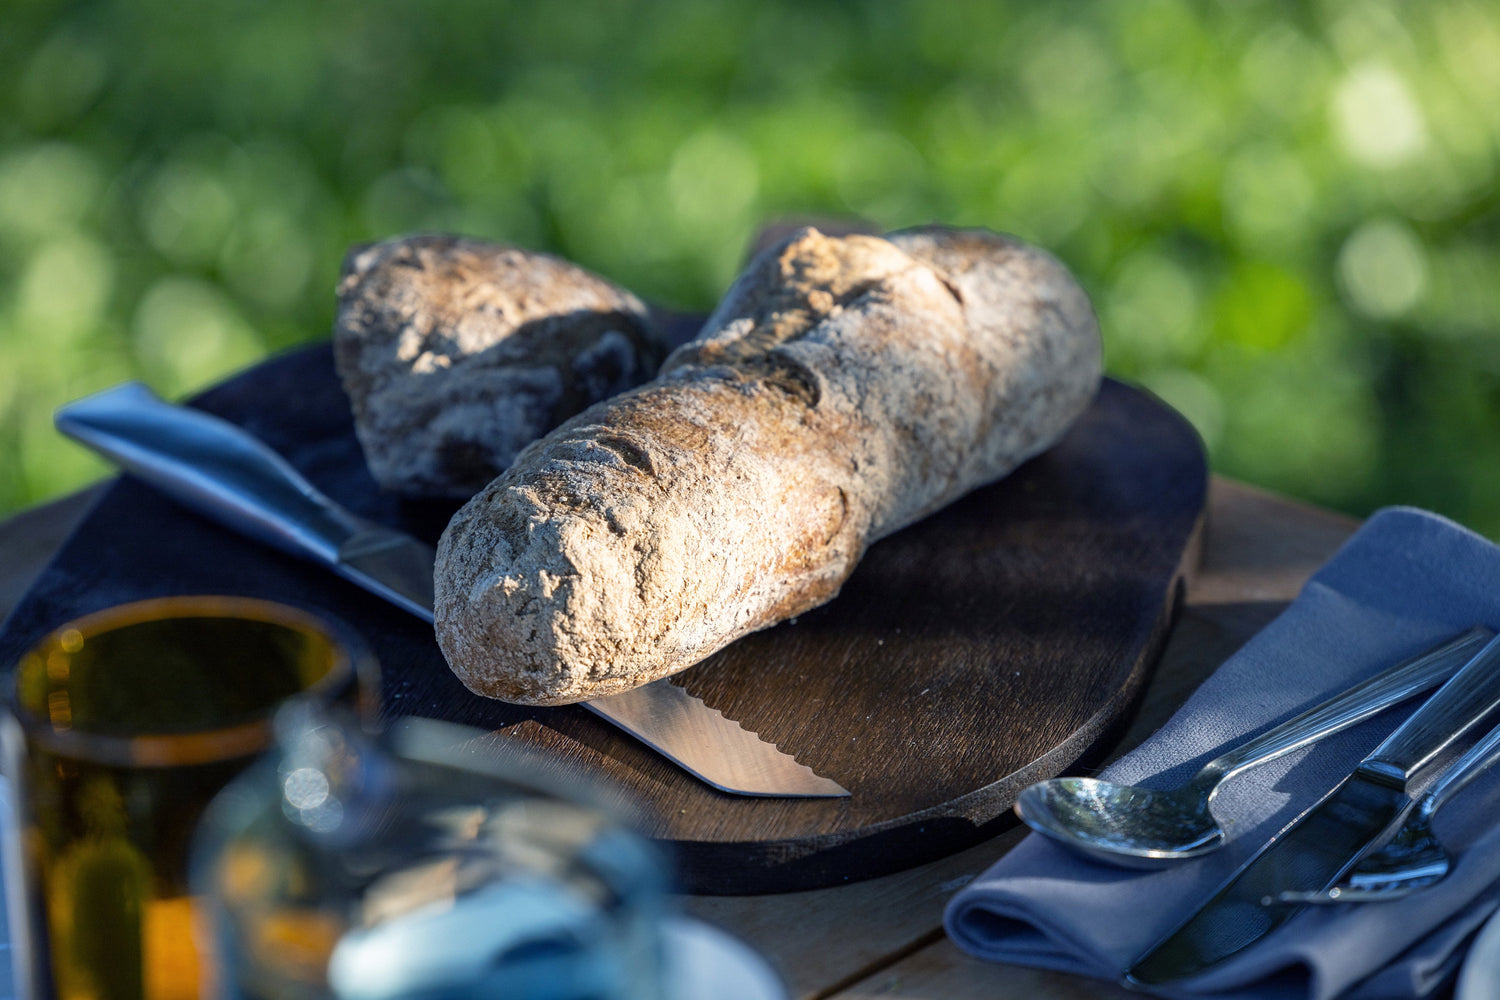
Lectin-free sourdough: An old tradition reimagined
Sourdough has been considered a particularly digestible form of breadmaking for centuries. The fermentation process breaks down certain components of the grain, improving flavor, shelf life, and digestibility. Nevertheless, traditional sourdough remains problematic for many people – especially when it contains lectins from gluten-containing grains , which can irritate the intestines.
A lectin-free sourdough combines the advantages of traditional fermentation with a targeted selection of low-lectin ingredients. This is precisely where our baking mixes come in: They enable you to bake sourdough breads that do without lectin-rich grains , while still retaining the structure, aroma, and characteristic acidity of a true sourdough.
By combining lectin-free flour alternatives , natural fermentation processes and clearly defined recipes, sourdough is being reimagined – not as a compromise, but as a functional, everyday alternative for people who value gut health, tolerability and conscious nutrition.

Preparing lectin-free sourdough for the first time
Day 1
30g Organic Pastry Baking Mix
50 g lukewarm water
Stir thoroughly in a glass (consistency: creamy-porridge-like).
-
Cover loosely (just place the lid on top).
Leave to stand at room temperature for 24 hours .
Day 2
Keep 50g of the starter, discard the rest.
Feed with 30g of organic pastry baking mix + 50g of water .
Stir, cover, and let rest for another 24 hours .
Days 3–4
-
Feed daily:
-
50g batch
30g Organic Pastry Baking Mix
50 g water
-
The sourdough begins to form bubbles and smells mildly sour .
From day 5
The sourdough starter is ready to use when it:
is visibly active (bubbles)
It smells pleasantly sour.
It increases in size within 4–6 hours after feeding.
Notes
Ideal temperature: 22–26 °C
If the mixture binds too much water (is too thick), add 10–20 g of water.
If the mixture is too runny: Add a little more baking mix.
-
If the sourdough does not become active on its own, continue the process as on day 3 for another week.
Instead of starting a new lectin-free sourdough starter, an existing grain-based sourdough starter can be converted to a different type of sourdough starter. Simply continue feeding it with the organic pastry baking mix instead of grain. After about two weeks, the lectin content will be negligible.

Maintaining sourdough
To avoid having to start from scratch every time:
- The starter needs to be fed continuously in the future: either once a day at room temperature (if you bake every day) or up to once every 7 days if refrigerated.
- To store in the refrigerator, feed the starter and then immediately place it in the refrigerator. When next needed, remove the starter from the refrigerator, feed it, and wait until it begins to bubble (approx. 3 hours).

Prepare the pre-dough
If you have a starter culture that bubbles well after feeding, you can begin:
To do this, prepare a pre-ferment with
- 4 tbsp starter
- 100g Light Flour Mix or Rustic Flour Mix
- 250ml of water (lukewarm).
Stir everything well, place in a coverable container and leave to ferment for 8-12 hours (at room temperature).

Main dough
The main dough is prepared as follows:
- Whole preferment
- 4 tablespoons additional starter
- 500g of the desired flour mix
- 800ml water (or enough to achieve a good, slightly sticky bread dough consistency) in a mixing bowl.
- 1 to 1.5 tablespoons of salt
- Optional: Spices to taste, approx. 1-2 tbsp e.g. fennel, caraway, coriander
- Knead well (or use a stand mixer) until the desired consistency is reached. Kneading gives the dough its elasticity. The finished dough should be slightly stretchy, meaning it should be elastic. Approximately 10 minutes with a stand mixer and dough hook.
- Leave to rest, covered, at room temperature for 3 hours

Baking preparation
- Carefully shape the dough as desired (rolls, loaf of bread, baguette, pizza base, etc.). Avoid vigorous kneading, as this will cause it to lose its fluffiness.
- Important: Don't shape the dough pieces too large, as baked goods made from Tobio flour blends contain more water than comparable grain doughs. During baking, much of this water needs to evaporate, and this becomes difficult if the dough pieces have a thick cross-section. So: Perhaps start with Vinschgerl rolls or baguettes to ensure your first attempt is a success!
- When shaping, sprinkle some of the Tobio flour mixture onto the baking surface and onto your hands to prevent stickiness and for the later crust.
- Cover the dough pieces with a cloth and let them rest ("proof") for 1 hour.
Weight guidelines for dough pieces
- Bread rolls: 75g - 90g
- Baguette, rustic bread...: 400g - 500g

Bake
- Preheat oven
- Once the temperature is right, put the dough pieces in the oven and bake them according to their volume until the crust is hard.
Guideline values temperature / duration
- Bread: approx. 60-75 min at 220°C
- For smaller rolls, 180-200°C / 30-45 min is sufficient.
- After baking, remove the finished baked goods from the oven and let them rest for about 1 hour before slicing.
TIP: The finished dough can also be stored in the refrigerator for a few days.
This makes it even finer and more elastic, and it's also practical: you can always have fresh dough in the refrigerator from which you take out a piece when you want to bake. The rest stays in the refrigerator.
